
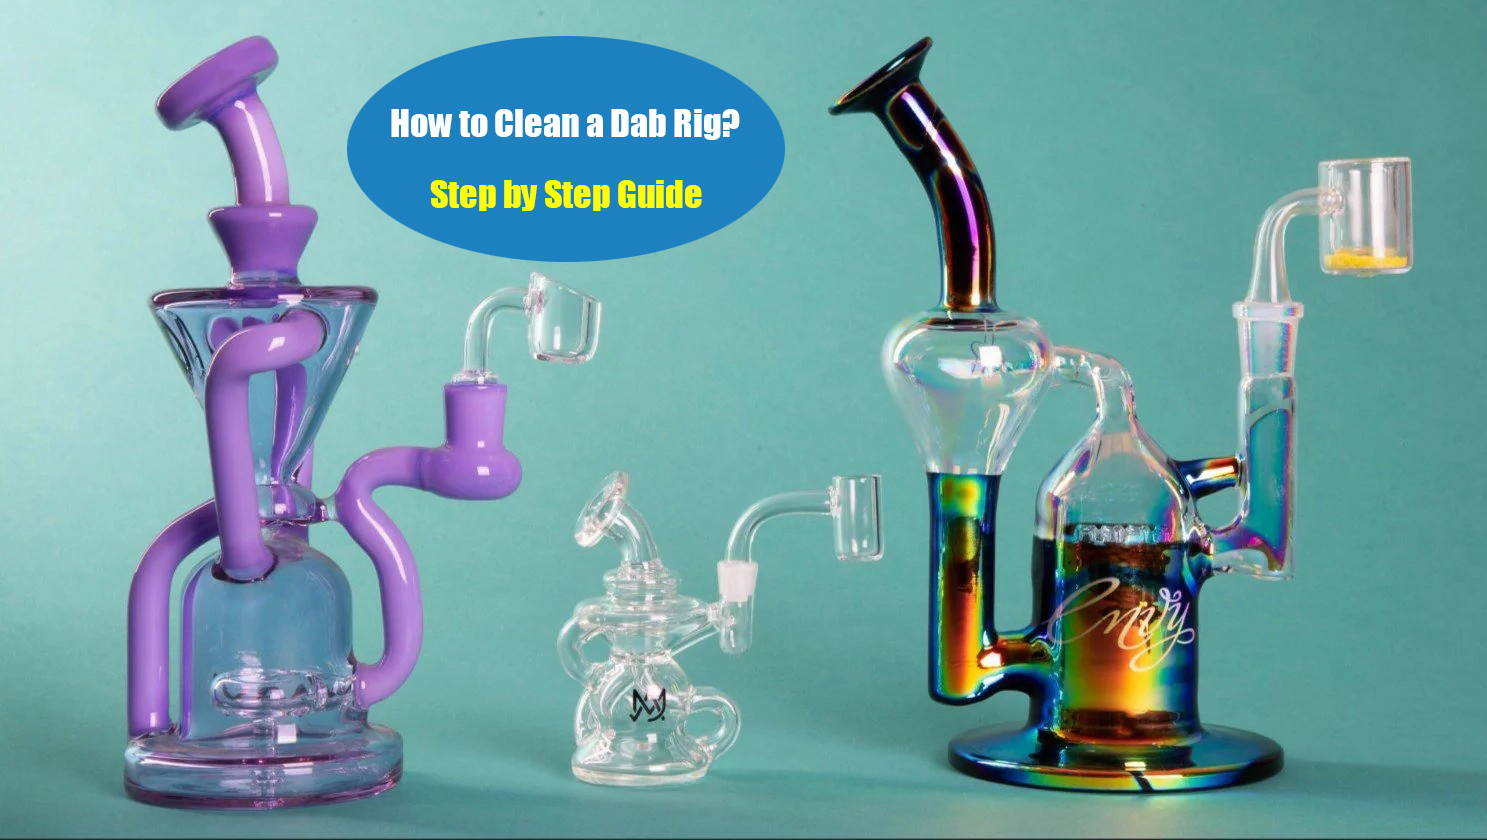
How to Clean a Dab Rig? Step-by-Step Guide
Aside from simply changing the water, you will need to clean your system more thoroughly every few days or so.
Residue, oils and contaminants can build up over time and affect both taste and performance.
If left unattended, standing water can harbor dangerous organisms like streptococci and E. coli, or even mold, which you don't want to breathe in.
Regular cleaning will preserve the fresh flavors of your dabs, ensure smooth hits, and keep your equipment looking like new.
So how exactly do you clean a dab rig? If you're new to dab rigs, you might not know how to clean your dab rig and be curious.
In this guide, we'll go into more detail about dab rig maintenance to keep your favorite rigs shiny and ensure you enjoy the purest, most flavorful dabs.
What is a Dab Rig? Parts of a Dab Rig
Dab rigs are made from a variety of materials, but mainly glass and silicone.
Borosilicate glass is robust and temperature-resistant enough to withstand long-term use.
Silicone is known for its non-stick properties, light weight, portability and ability to withstand high temperatures and impacts without damage.
The parts that make up a dab rig are the base, water chamber, mouthpiece, joint, nail/banger and carb cap.
Each system comes with these parts, but some include different types of percolators and chambers to give you a unique experience.
What you need to clean your dab rig
Before you start cleaning your dab rigs, you need to make sure you have all the necessary supplies on hand. These include:
1. Isopropyl alcohol (91-99%)
This powerful solvent is the heart of the cleaning process, dissolving and breaking down oils, residues and contaminants that build up in your equipment.
You can also use 420 glass cleaner or white vinegar instead.
2. Coarse salt or rock salt
Coarse salt is considered an abrasive and, in combination with isopropyl alcohol, dissolves and removes stubborn deposits.
If you shake the mixture gently, the abrasive action of the salt will help scrub stubborn residue from hard-to-reach corners.
3. A large sealable plastic bag
The resealable bag should be large enough to fit the pieces.
You may need different containers to keep the pieces separate and prevent them from hitting each other and breaking.
4. Rubber stopper
They are used to keep the cleaning solution safely in the glass container during cleaning.
Sealing the holes with rubber plugs or caps is cleaner and safer than using your fingers.
5. Pipe cleaners and cotton swabs
These slim tools are essential for accessing intricate parts of your system that would otherwise be difficult to clean.
Pipe cleaners are good for cleaning the twists and turns of the downstem, while cotton swabs allow for precise cleaning of the most delicate components.
6. Warm water
Warm water rinses away dissolved residues and cleaning solutions, leaving your system fresh and residue-free.
It is important to use the correct water temperature to avoid thermal shock, which could damage your glass system.
How to Clean a Dab Rig? Step-by-Step Guide
Once you have your materials gathered, follow these steps to clean your glass dab rig.
Step 1: Disassemble your rig
The first thing you should do after putting on the gloves is to take apart the various components, including the hammer/nail, which is often where the most residue accumulates.
If you clean your dab rig while all the accessories are still attached, it may become damaged or broken.
Step 2: Cleaning the main chamber
Next, empty the dirty water from your dab rig and get as much out as possible.
Pour a mixture of isopropyl alcohol and coarse salt into the main chamber of your dab rig.
Cover any openings with your hands or rubber plugs, then shake vigorously to ensure the salt/alcohol mixture thoroughly coats and penetrates your device.
If the water chamber is very dirty, let your dab rig sit with the cleaning solution in it for at least half an hour or more. This will help to loosen and dislodge some of the oil buildup before you proceed with cleaning.
Step 3: Soaking the components
Place the smaller pieces, such as the banger/nail, in a resealable ziplock bag.
Fill the bag with enough isopropyl alcohol and coarse salt to submerge the entire piece.
To scrub off the residue, shake it gently for a few minutes.
Additionally, if the banger/nail is too dirty, let it soak in the alcohol solution for a longer period of time to dissolve the concentrate.
One of the easiest ways to clean a nail or banger is to heat it with a torch until the excess carbon or carbon residue is completely burned off.
Step 4: Rinse thoroughly
After soaking your dab rig and components well, it's time to rinse them thoroughly.
Rinse your items with warm water for several minutes to ensure all alcohol residue is rinsed out before drying.
Step 5: Clean the difficult areas
Still see dark spots or residue? Wipe off any remaining residue with paper towels or rags.
For tight spaces or hard-to-reach areas, use cotton swabs or pipe cleaners soaked in isopropyl alcohol to ensure every nook and cranny is clean.
When you're done, you can rinse it thoroughly again.
Step 6: Dry completely
If cleaning is acceptable to you, dry off any excess water.
Before assembling and using your rig, make sure all components are dry. This will ensure optimal performance and safety.
How to clean a silicone dab rig?
Cleaning a silicone dab rig with rubbing alcohol can cause the silicone to corrode.
Instead of alcohol, a mixture of warm water and liquid dishwashing detergent can make an effective cleaning solution.
You will find that if you do not soak the dab rig but instead gently scrub it, you will remove the resin residue.
If you find that there is a lot of hard resin on your dab rig, you can place it in the freezer overnight. This will allow the resin to completely solidify and make it easy to break off.
How to clean an electric dab rig?
Start by disassembling your e-rig. This usually involves removing your e-nail and bubbler from the base of the device.
Place the quartz or titanium e-nail in the alcohol solution for a while. Then rinse your nail with warm water.
If necessary, clean the mouthpiece and all other removable glass parts with alcohol or a special cleaning solution.
In addition, you can simply wipe the plastic body of the rig with a water-soap solution and dry it with a soft cloth.
How often should you clean your dab rig?
In addition to changing the water in the device, serious users should also clean the dab rig with alcohol every 7-10 days to prevent resin buildup.
The nail should be cleaned at least once a day as tar builds up quickly, affecting the overall taste of your dab rig.
Diploma
Now that you know how to clean a dab rig, you can ensure that your device stays as clean as when you bought it.
If you have followed these steps and your glass dab rig still doesn't look as nice as you would like, try repeating the steps again, increasing the amount of time and shaking intensity.
Cleaning dab rigs may seem like a tedious task, but with the right tools and techniques, it becomes a simple process.
Regularly cleaning and maintaining your dab rig will ensure a clean, flavorful dabbing experience every time. Keep up the good work!
Post a comment: