
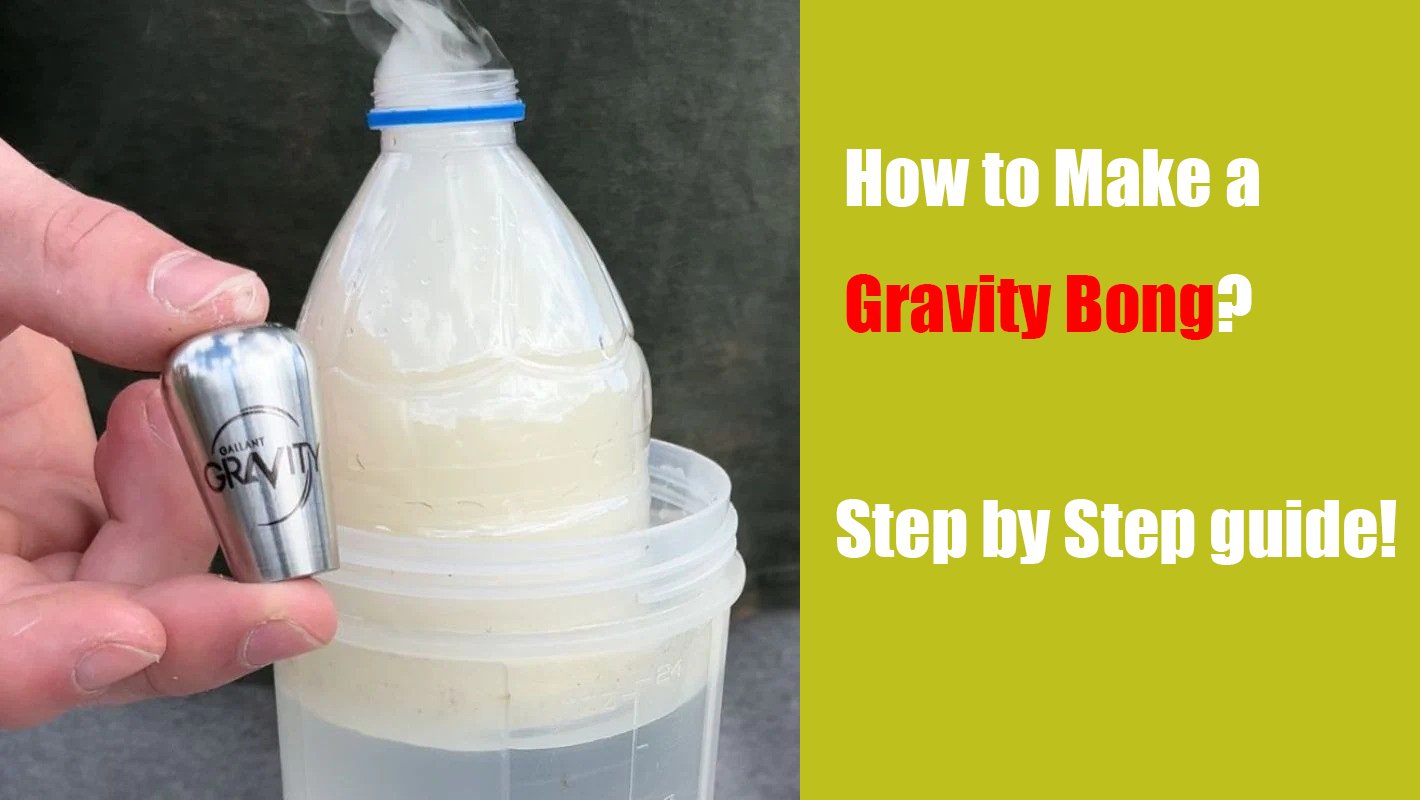
How to build a gravity bong? Step-by-step instructions
If you don't have any smoking paper on hand or are simply looking for a new way to smoke cannabis, why not try making your own gravity bong?
Once you know how to make a homemade gravity bong, you'll never have to worry about running out of paper again.
In addition, the Gravity Bong is known for its strong hits that can get you very high instantly.
Making a gravity bong—or water bottle bong—is easy. All you need is a few common household materials and you're good to go.
Let’s look at a comprehensive guide on how to build a gravity bong.
What is a gravity bong?
A gravity bong, also called a “geeb,” is a smoking device for smoking dry herbs.
It uses water, gravity and negative pressure to collect cannabis smoke in one of the bottles, allowing the user to inhale large amounts into the lungs.
Both a bucket bong and a waterfall bong are types of gravity bongs, they just have slight differences in design.
How does a gravity bong work?
The gravity bong works by taking a small bottle with a bowl on the lid and submerging it into a giant bottle or tank filled with water.
Once you have lit the dried herbs in the bowl, slowly pull the small bottle out of the water so that the interior of the bottle fills with cannabis smoke due to negative pressure.
Unscrew the cap, place your mouth over the opening of the bottle and press the bottle down to allow the smoke to enter your lungs through gravity.
Step by Step Guide: How to Make a Bucket Gravity Bong?
A gravity bong is usually made from common household items. Here is a step-by-step guide to help you build one.
First, you need to gather the materials for this DIY project. You will need:
A plastic bottle.
A larger plastic bottle or bucket.
aluminum foil.
A sharp knife or scissors.
A toothpick or a paper clip.
Step 1: Cut the bottles
Using your knife or scissors, cut off the bottom of your smaller bottle.
The more of the bottle that remains, the bigger your hit will be, so be careful not to cut off too much of the bottom of the bottle.
Next, if you are using a bucket, fill it with water.
If you are using a larger bottle instead of a bucket, cut off a third of the top and fill the bottle with water.
Keep the bottom of the larger bottle. Keep the top of the smaller bottle as well.
Step 2: Make the bowl
Drill a hole in the cap of the smaller bottle. Use the knife to remove pieces of plastic until you have a hole the size of your little finger.
Cut a small square out of aluminum foil that is large enough to press into the small finger hole to form a bowl.
Form a bowl with your little finger and then press it into the hole of the cap. Remove any excess foil.
Use a paper clip, toothpick or other piercing tool to poke several small holes in the foil. You will need about 4-5 holes for adequate ventilation.
Step 4: Smoking preparation
Place your foil bowl back on the smaller bottle.
Immerse the bottle in the water container so that only the top opening protrudes.
Take a pinch of dried cannabis and pack it into the bowl. Light your cannabis.
Step 5: Time to fill with smoke
When the cannabis begins to burn, carefully lift the bottle out of the water, creating a suction that will fill the empty part of the bottle with smoke.
You should lift the bottle enough so that all the smoke is drawn into the bottle, but not so that it completely emerges from the water, otherwise the smoke will be released.
Once the bottle's chamber is full, unscrew the bottle's cap. Place your mouth over the nozzle and inhale slowly while quickly pushing the bottle down. This will force all the smoke into your mouth!
Inhale as much as you can, pull out, and hold your breath for three to seven seconds while you screw the cap back on. You've now taken a huge hit!
How to make a gravity bong without foil?
It is important to note that using aluminum foil as a bowl may not be the healthiest option as it can release harmful substances when heated.
If possible, use a metal frame or a glass bowl from a traditional bong to avoid and replace the foil bowl.
After drilling a hole in the plastic cap, enlarge it using the appropriate tool.
Make sure the hole is large enough to allow you to slide the tapered end of the glass bowl or holder through.
The socket or glass container should fit as tightly and tightly as possible to the cap so that the air is sucked through and not around it.
We recommend that you seal the connection (where the socket meets the cover) with insulation tape.
Baby carrots also make great pipe bowls if you cut them to fit the downstem and poke a hole in them with a toothpick. Carve out a piece to put your herbs in. All fruits are safe to smoke from.
How to Build a Waterfall Gravity Bong: 5 Steps
Making your own waterfall bong is easy, fun, and very similar to making your own gravity bong.
This is what you need to build a waterfall bong:
A plastic bottle. Aluminum foil or glass bowl. A sharp knife. A toothpick or paper clip.
Step 1: The first step in making a waterfall bong is to drill a small hole in the side of the plastic bottle near the bottom. This is where the “waterfall” will be created.
The hole should be large enough for the liquid to flow out easily, but small enough to cover with your finger.
Step 2: Then it's time to make the tray. You can make your own tray out of aluminum foil/tin foil. Wrap the plastic bottle lid in aluminum foil and punch holes in it to make a tray to burn the herbs.
Step 3: Fill the bottle with water. Make sure your finger is firmly placed over the opening in the bottle.
Step 4: Place the lid with the bowl back on the bottle and then remove your finger when lighting your herbs to allow the water to flow out of the bottle.
As the water drips out of the bottle, the smoke from the bowl is drawn into the bottle.
Step 5: Once the water in the bottle has been replaced by smoke, quickly place your finger back over the hole in the bottle to capture the smoke.
When you are ready to inhale, remove the bowl and place your mouth over the opening, making sure to remove your finger from the hole in the bottom of the bottle.
Gravity Bong vs. Regular Bong: Which is Better?
A gravity bong is a very fun way to smoke that can get you high very quickly. But which is better when comparing gravity bongs to regular bongs?
For us there is no doubt: a regular bong is many times better than a gravity bong, because the water in a gravity bong does not improve the quality of the smoke, while the water in a regular bong does.
With a regular bong, the smoke is drawn into the bong through the water. Also, many modern bongs come with percolators or recyclers, and these things just serve to cool the water and filter the smoke more effectively.
Since the water in a gravity bong doesn't actually cool or filter the smoke, we don't think you can really call a gravity bong a real bong. It works differently.
Do gravity bongs get you high?
A gravity bong uses the water to seal the chamber and then helps push the smoke towards you, creating an effect that many other devices cannot deliver.
They get you super high without having to consume tons of weed. With each hit, you take in a large amount of highly concentrated smoke that is forced into your lungs.
For this reason, smoking through a gravity bong can be a fantastic experience for an experienced stoner who wants to get totally high.
However, a novice who is not used to big pulls will probably experience a lot of coughing.
Diploma
Now that you know the steps involved, you can gather your materials and start making your own homemade gravity bong.
Both bucket and waterfall bongs are easy to make. Feel free to experiment with both types. Have fun with your homemade gravity bong!
Gravity bongs can be an excellent choice for smoking if you're in a pinch and don't have a smoking device or if you simply want to spice up your typical smoking experience.
Also remember that the effect can be very strong, so experiment carefully until you get the desired effect.
If that's too much for you, invest in a classic glass bong to have fun with your friends at every session.
Post a comment: