
3 tips for decarbing your weed for the best results
Marijuana Decarbing Tips For Best Results
Proper decarboxylation of marijuana is critical to the production of cannabis edibles and infused beverages.
Simply put, this process activates the cannabinoids in the plant—mainly THC and CBD—into their bioavailable form—using heat. Because when you use it in its raw form, the cannabinoids aren’t activated and therefore don’t produce the powerful health benefits we know and love it for. Sounds easy enough, right?
But there are a few important things to keep in mind to ensure the decarboxylation is done properly. Otherwise, you risk burning weed and wasting a lot of marijuana for nothing.
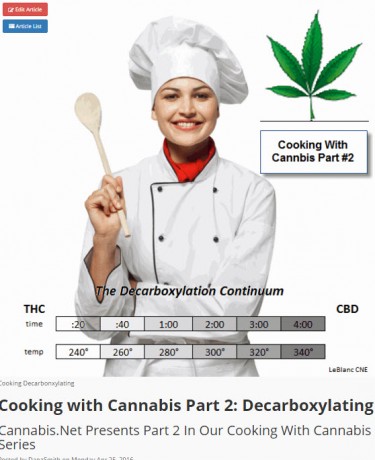
Decarboxylation is the name for the chemical reaction that takes place when raw cannabis flowers are exposed to heat. THCA then converts to THC and CBDA converts to CBD. At the right temperatures, the carboxyl groups are released and become psychoactive and bioavailable for infusion and consumption.
The right temperatures and the right time are crucial for this process. The goal is to activate the cannabinoids, not destroy them, which can happen if you leave it in for too long or end up burning it off.
Go low and slow
When decarboxylating weed, never rush; trust the process.
Going low and slow is always better; It’s a bit the same principle as slow cooking versus deep frying food. According to experts, the range between 230-250F is ideal for decarboxylation in an oven, and leaving the marijuana in there for a maximum of 25 to a maximum of 30 minutes produces the best results. However, if you want to get more aromatic terpenes, you can use a lower temperature like 220-230F and decarbonize them for up to 45 minutes.
Choose your raw cannabis wisely
It’s a well-established fact that if you’re buying weed for decoking or infusions, you won’t be using premium marijuana. Why? The stuff is best smoked straight up.
This is an opportunity for you to take advantage of your dispensary’s promos and buy ounces of cheaper weed. You can also experiment with strains high in THC or CBD, but note that CBDA, the precursor to CBD, takes longer to turn into CBD than THC. This is why you have to wait twice as long when decarboxylating a high-CBD strain.
In addition, the cannabis you should be using should already be properly dried and cured. Keep this in mind when decoking homegrown weed.
Preparing cannabis for decarbonization in the oven
Always grind up your cannabis before de-smoking. This increases the surface area, increases the likelihood of an even burn, and improves consistency. When grinding, look for a texture similar to a grain of rice.
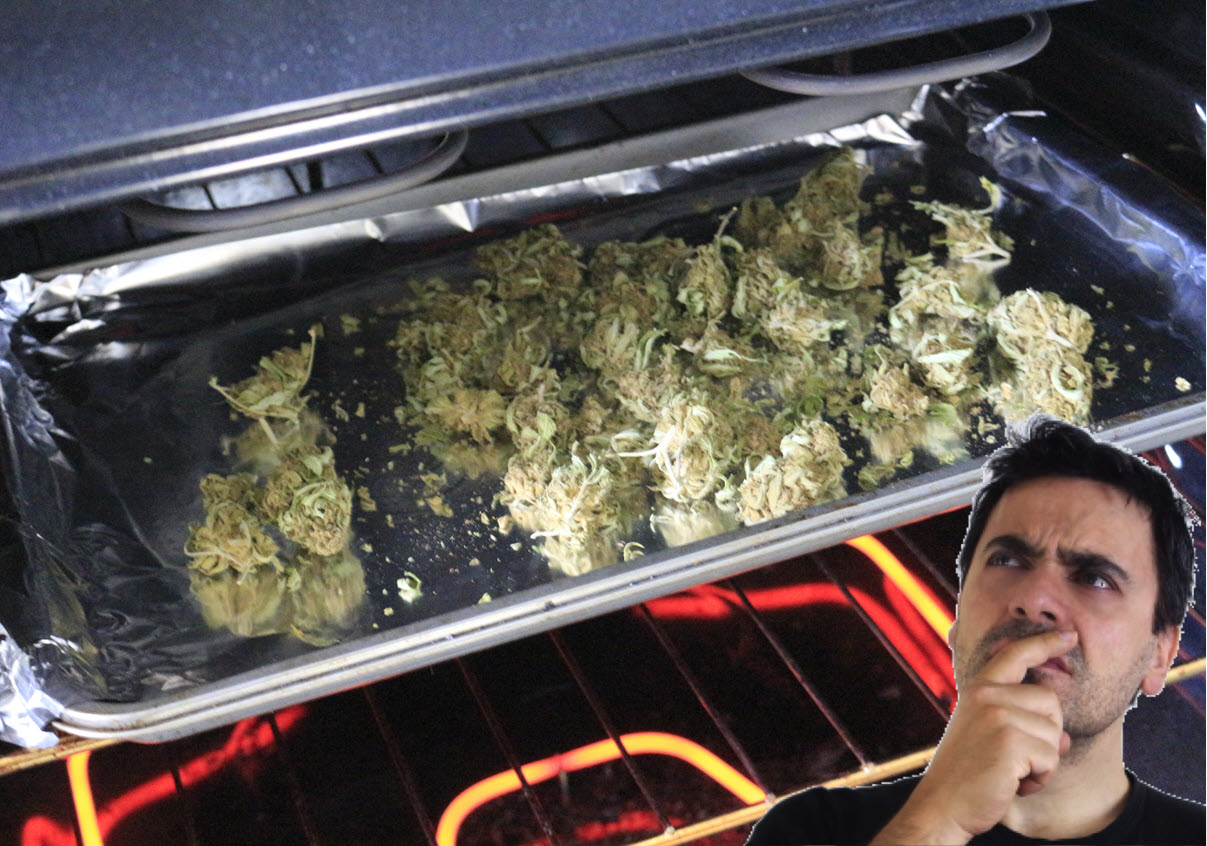
The most common way people decarboxylate marijuana at home is using an oven. It’s efficient and there’s no need to buy special decarburization tools (although there are!).
If you decide to use this method, line a baking pan with a baking sheet and spread the buds out as evenly as possible. Half the time during the decarbing process to rotate the buds as fast as possible to ensure even decarboxylation.
When finished, remove the shell and allow the material to cool properly for 10-15 minutes. You may notice that the color has changed from green to a shade of brown. After it cools, transfer to an airtight container until it’s time to use.
Decarboxylated marijuana should be infused or consumed within 3-6 months, although for the most potent potency, the sooner the better.
tools for decarburization
A furnace isn’t the only way to dechar weed. There are many other options out there depending on what you have at home or how much you are willing to spend for efficient and accurate decarburization.
Under vacuum
In sous vide devices, you can use controlled heat levels and a water bath for decarboxylation. One of the main benefits of using a sous vide device is that it allows you to efficiently preserve the terpenes for maximum flavor.
-
Fill the sous vide tub with tap water.
-
Set it to 200F.
-
Place your ground cannabis into the vacuum sealed bag and submerge in the water bath to ensure it is sealed properly.
-
Leave on for 90 minutes.
-
Remove the bag and let it cool for 15 minutes.
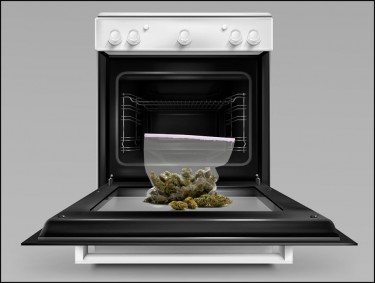
Jar
Decarboxylating weed in a mason jar is also entirely possible. One benefit of this is that it reduces the risk of marijuana odors floating around your home, allowing you to secretly decoke. The terpenes are also well preserved and it is impossible to burn cannabis with a mason jar to decarbonize it. If you are one of those people who want to be careful when burning cannabis, this process is highly recommended.
You’ll need your ground up marijuana, a baking sheet, a kitchen towel, and gloves.
-
Set your oven to 230-250F.
-
Place the oven rack in the middle.
-
Place the ground up cannabis into the mason jar, then secure the lid.
-
Slightly dampen the surface of the kitchen towel. Place it on the baking pan and place the mason jar on top. The moisture from the towel keeps the glass from moving during the process.
-
Place the pan in the oven and bake for 60 minutes.
-
Use oven mitts to shake the jar every 15 minutes for even decarbing.
Never use a microwave
Finally, you should never use a microwave to decarb cannabis. Microwave temperatures cannot be controlled as precisely as an oven. Remember, go slow and slow; Ovens, a sous vide machine, or dedicated decarbonizers are the best tools for this task.
DECARB YOUR CANNABIS, READ MORE..
DECARBRATE YOUR CANNABIS – HOW TO DO IT AT HOME!
OR..
COOKING WITH CANNABIS AND DECORING YOUR WEED FOR FOOD!
Post a comment: